
Making the Print
A Special Request
On the blog recently I told you about how I have discovered the joy of printing. Adding printing to my photography workflow is something I've been wanting to do for a while and since picking up my Canon Pixma Pro-10S I've very much enjoyed printing out my work.
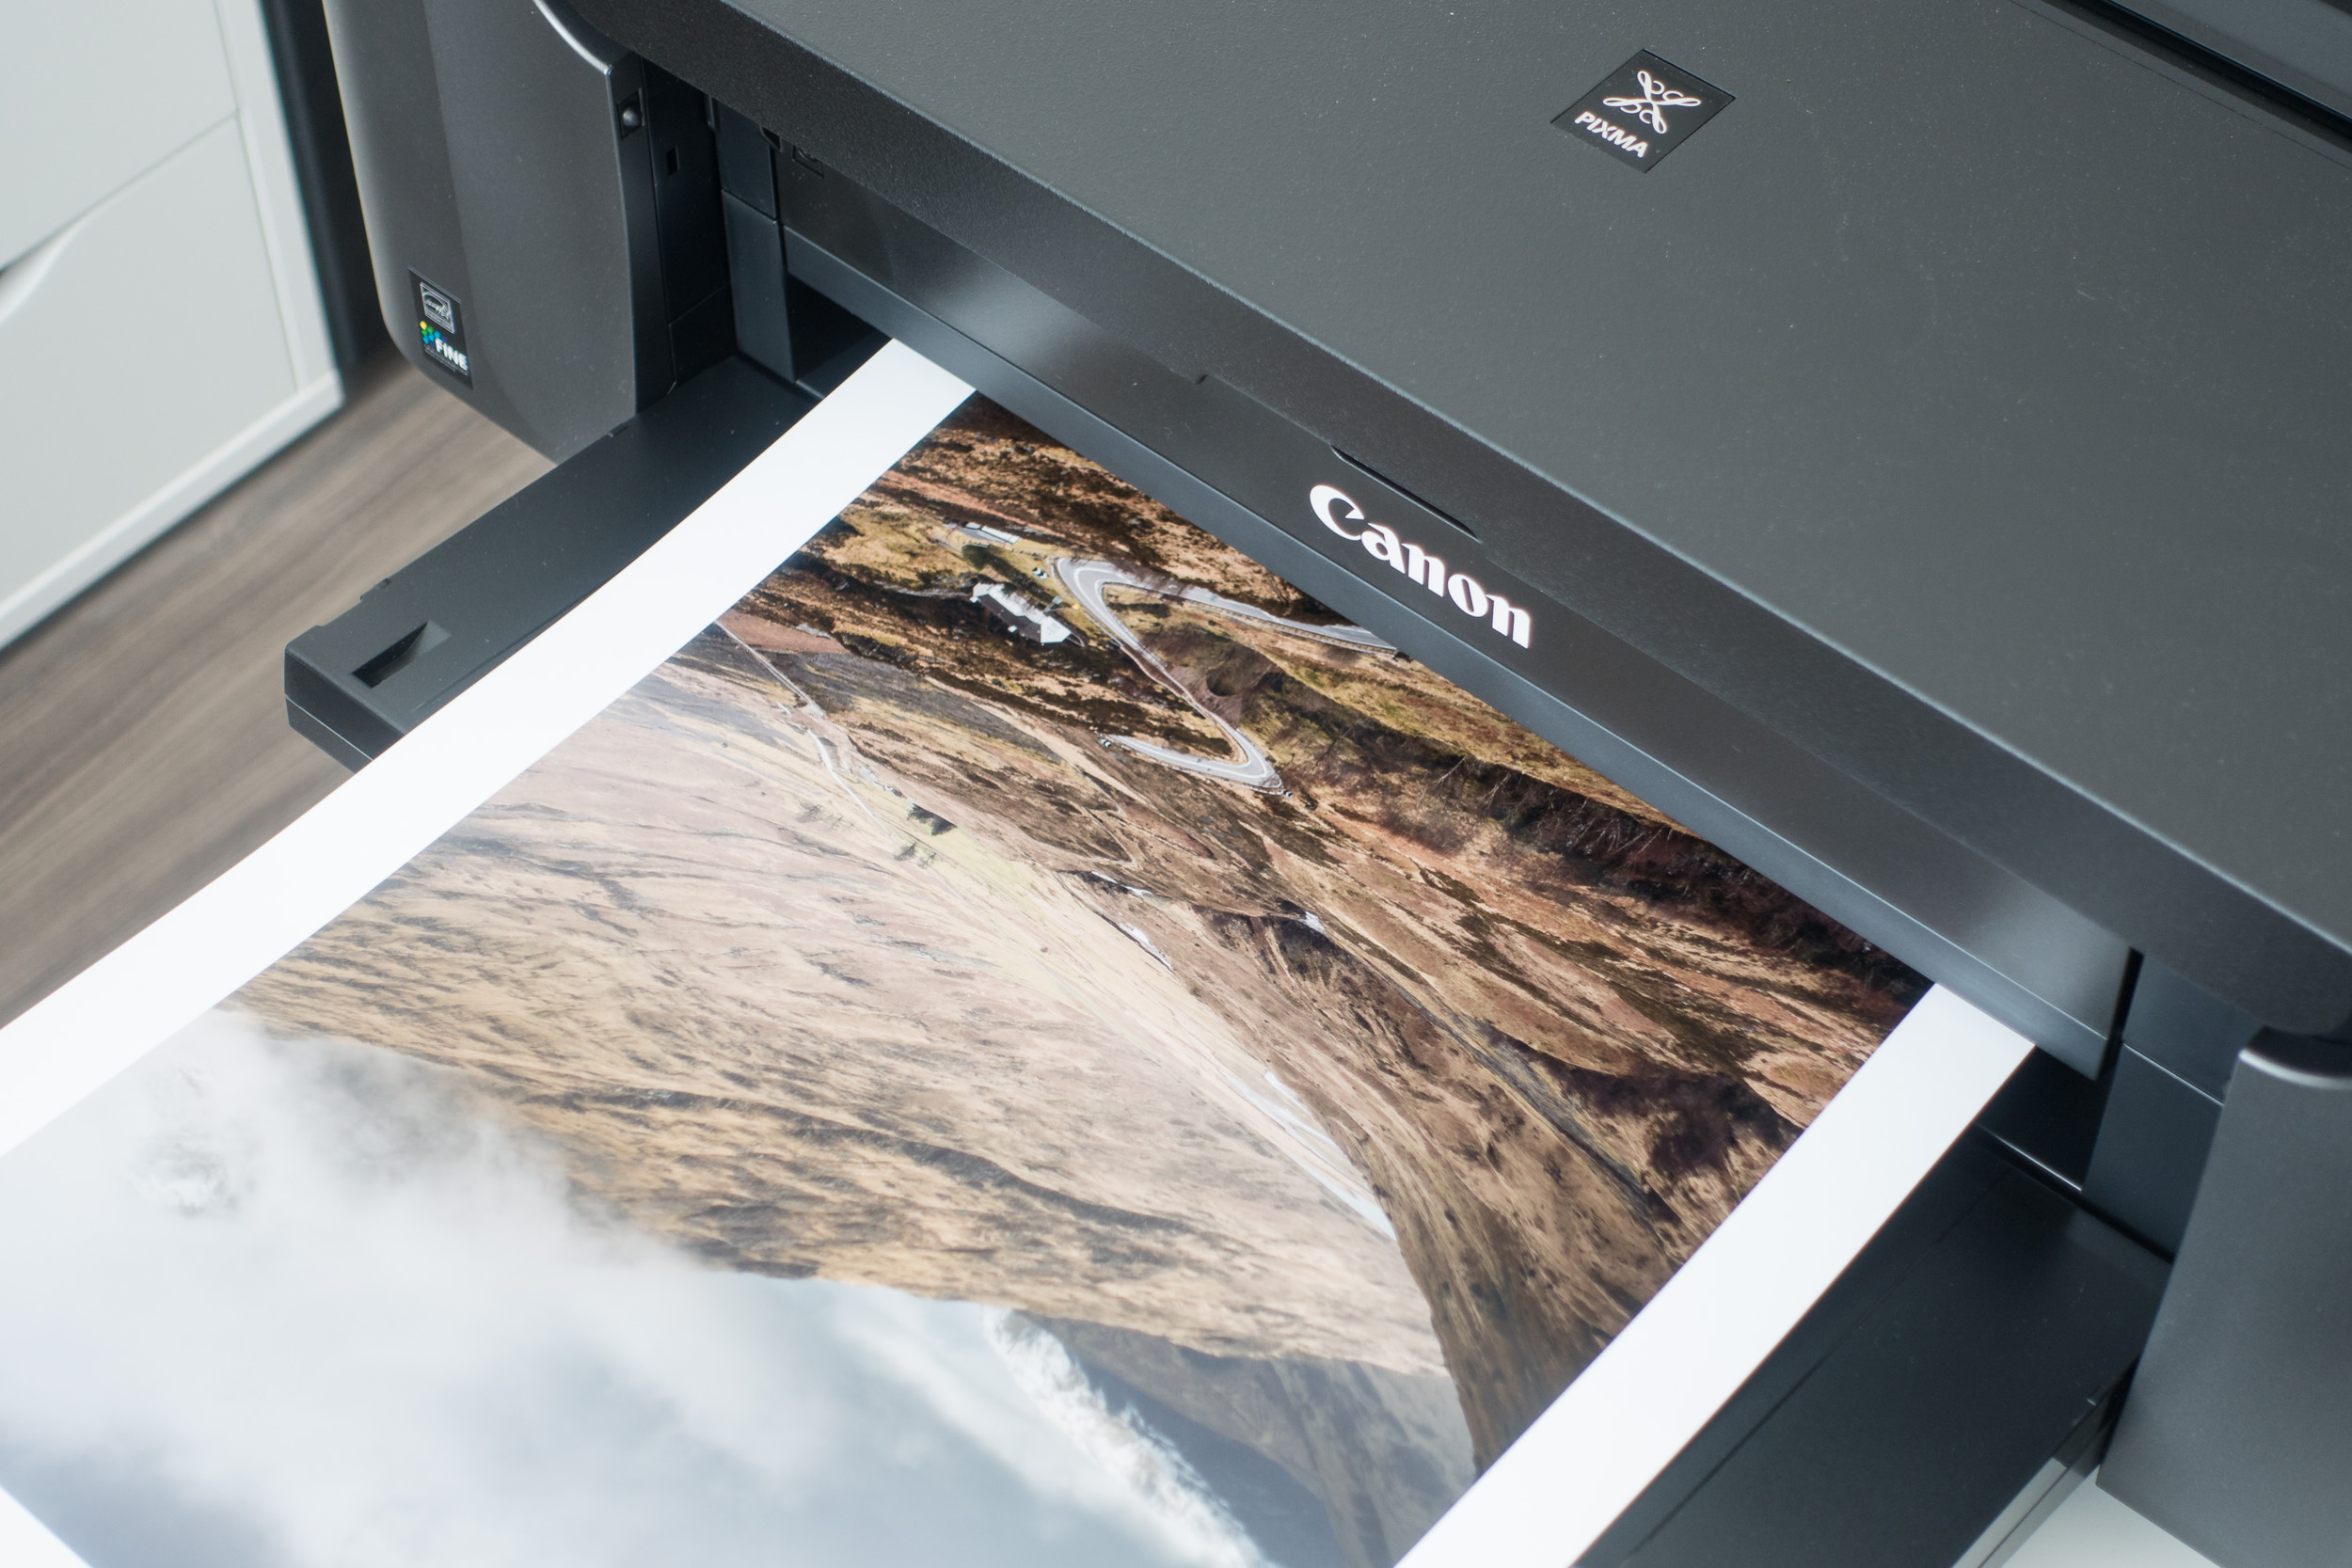
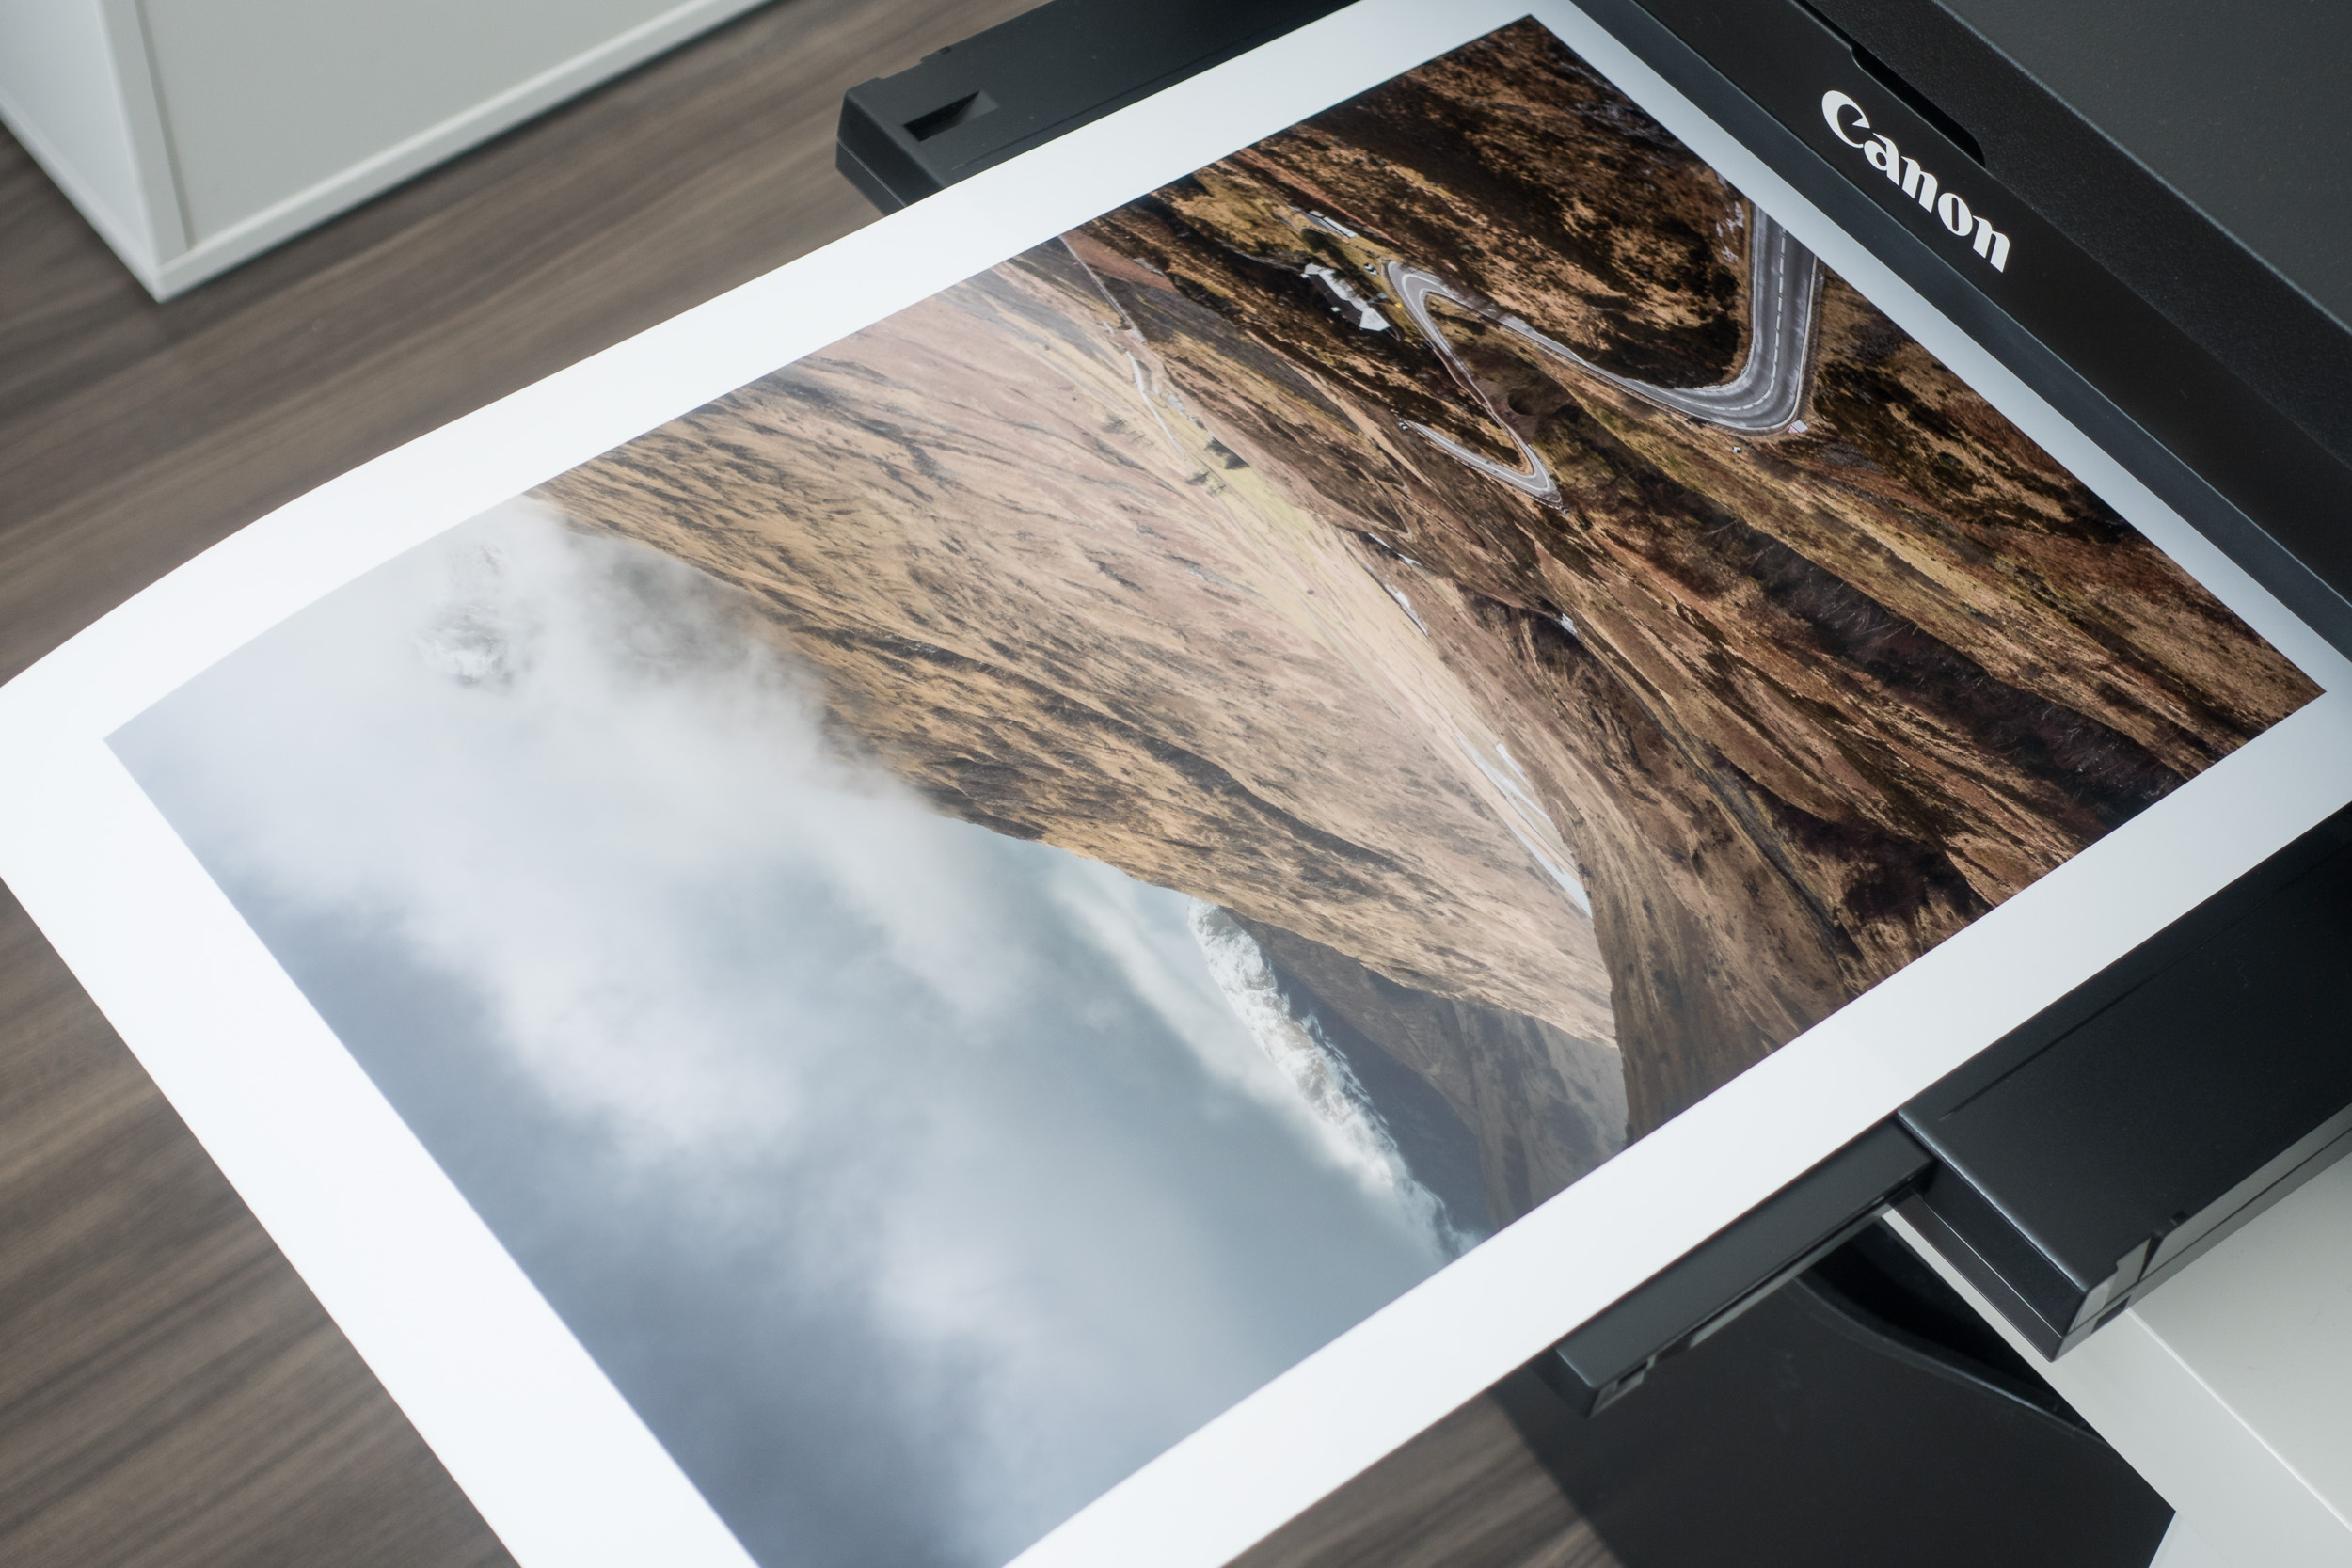
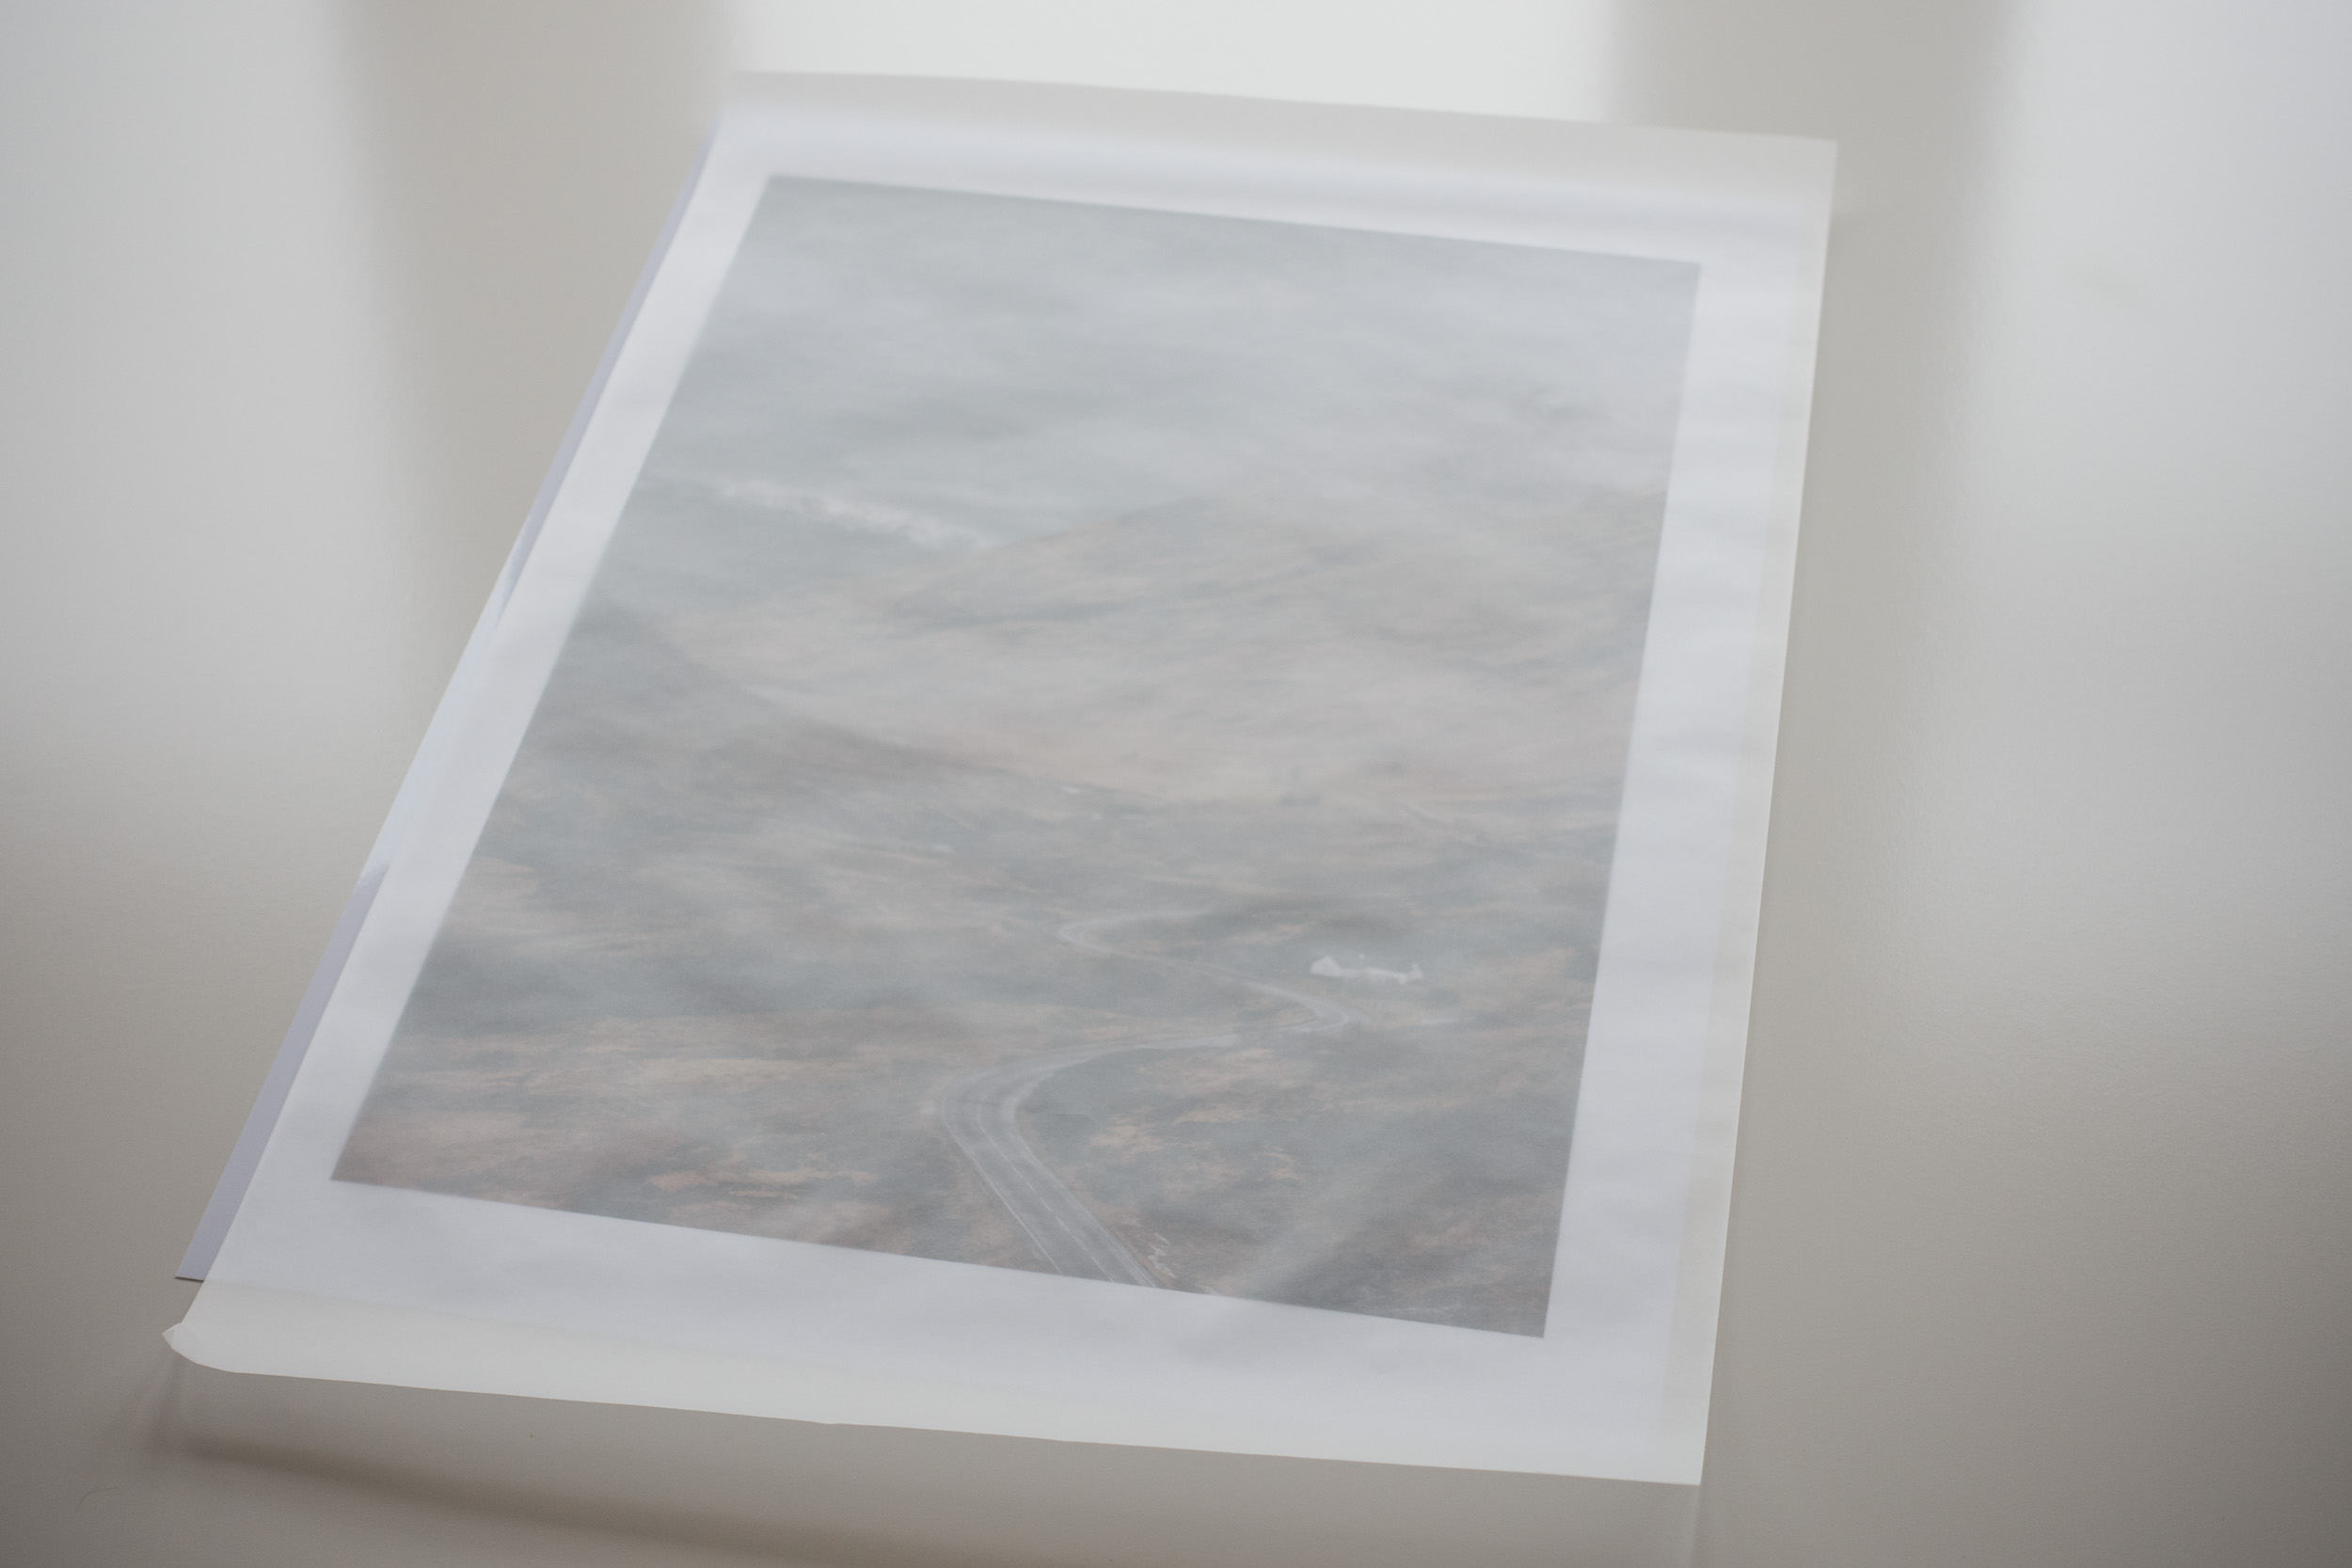
As if by some happy coincidence a friend of mine who lives in Sweden asked me to create her a print of an image that I took while on a workshop in Glencoe. I was of course delighted by the request. What better way to put the printer to use than to create an A3+ print of this image for a friend.
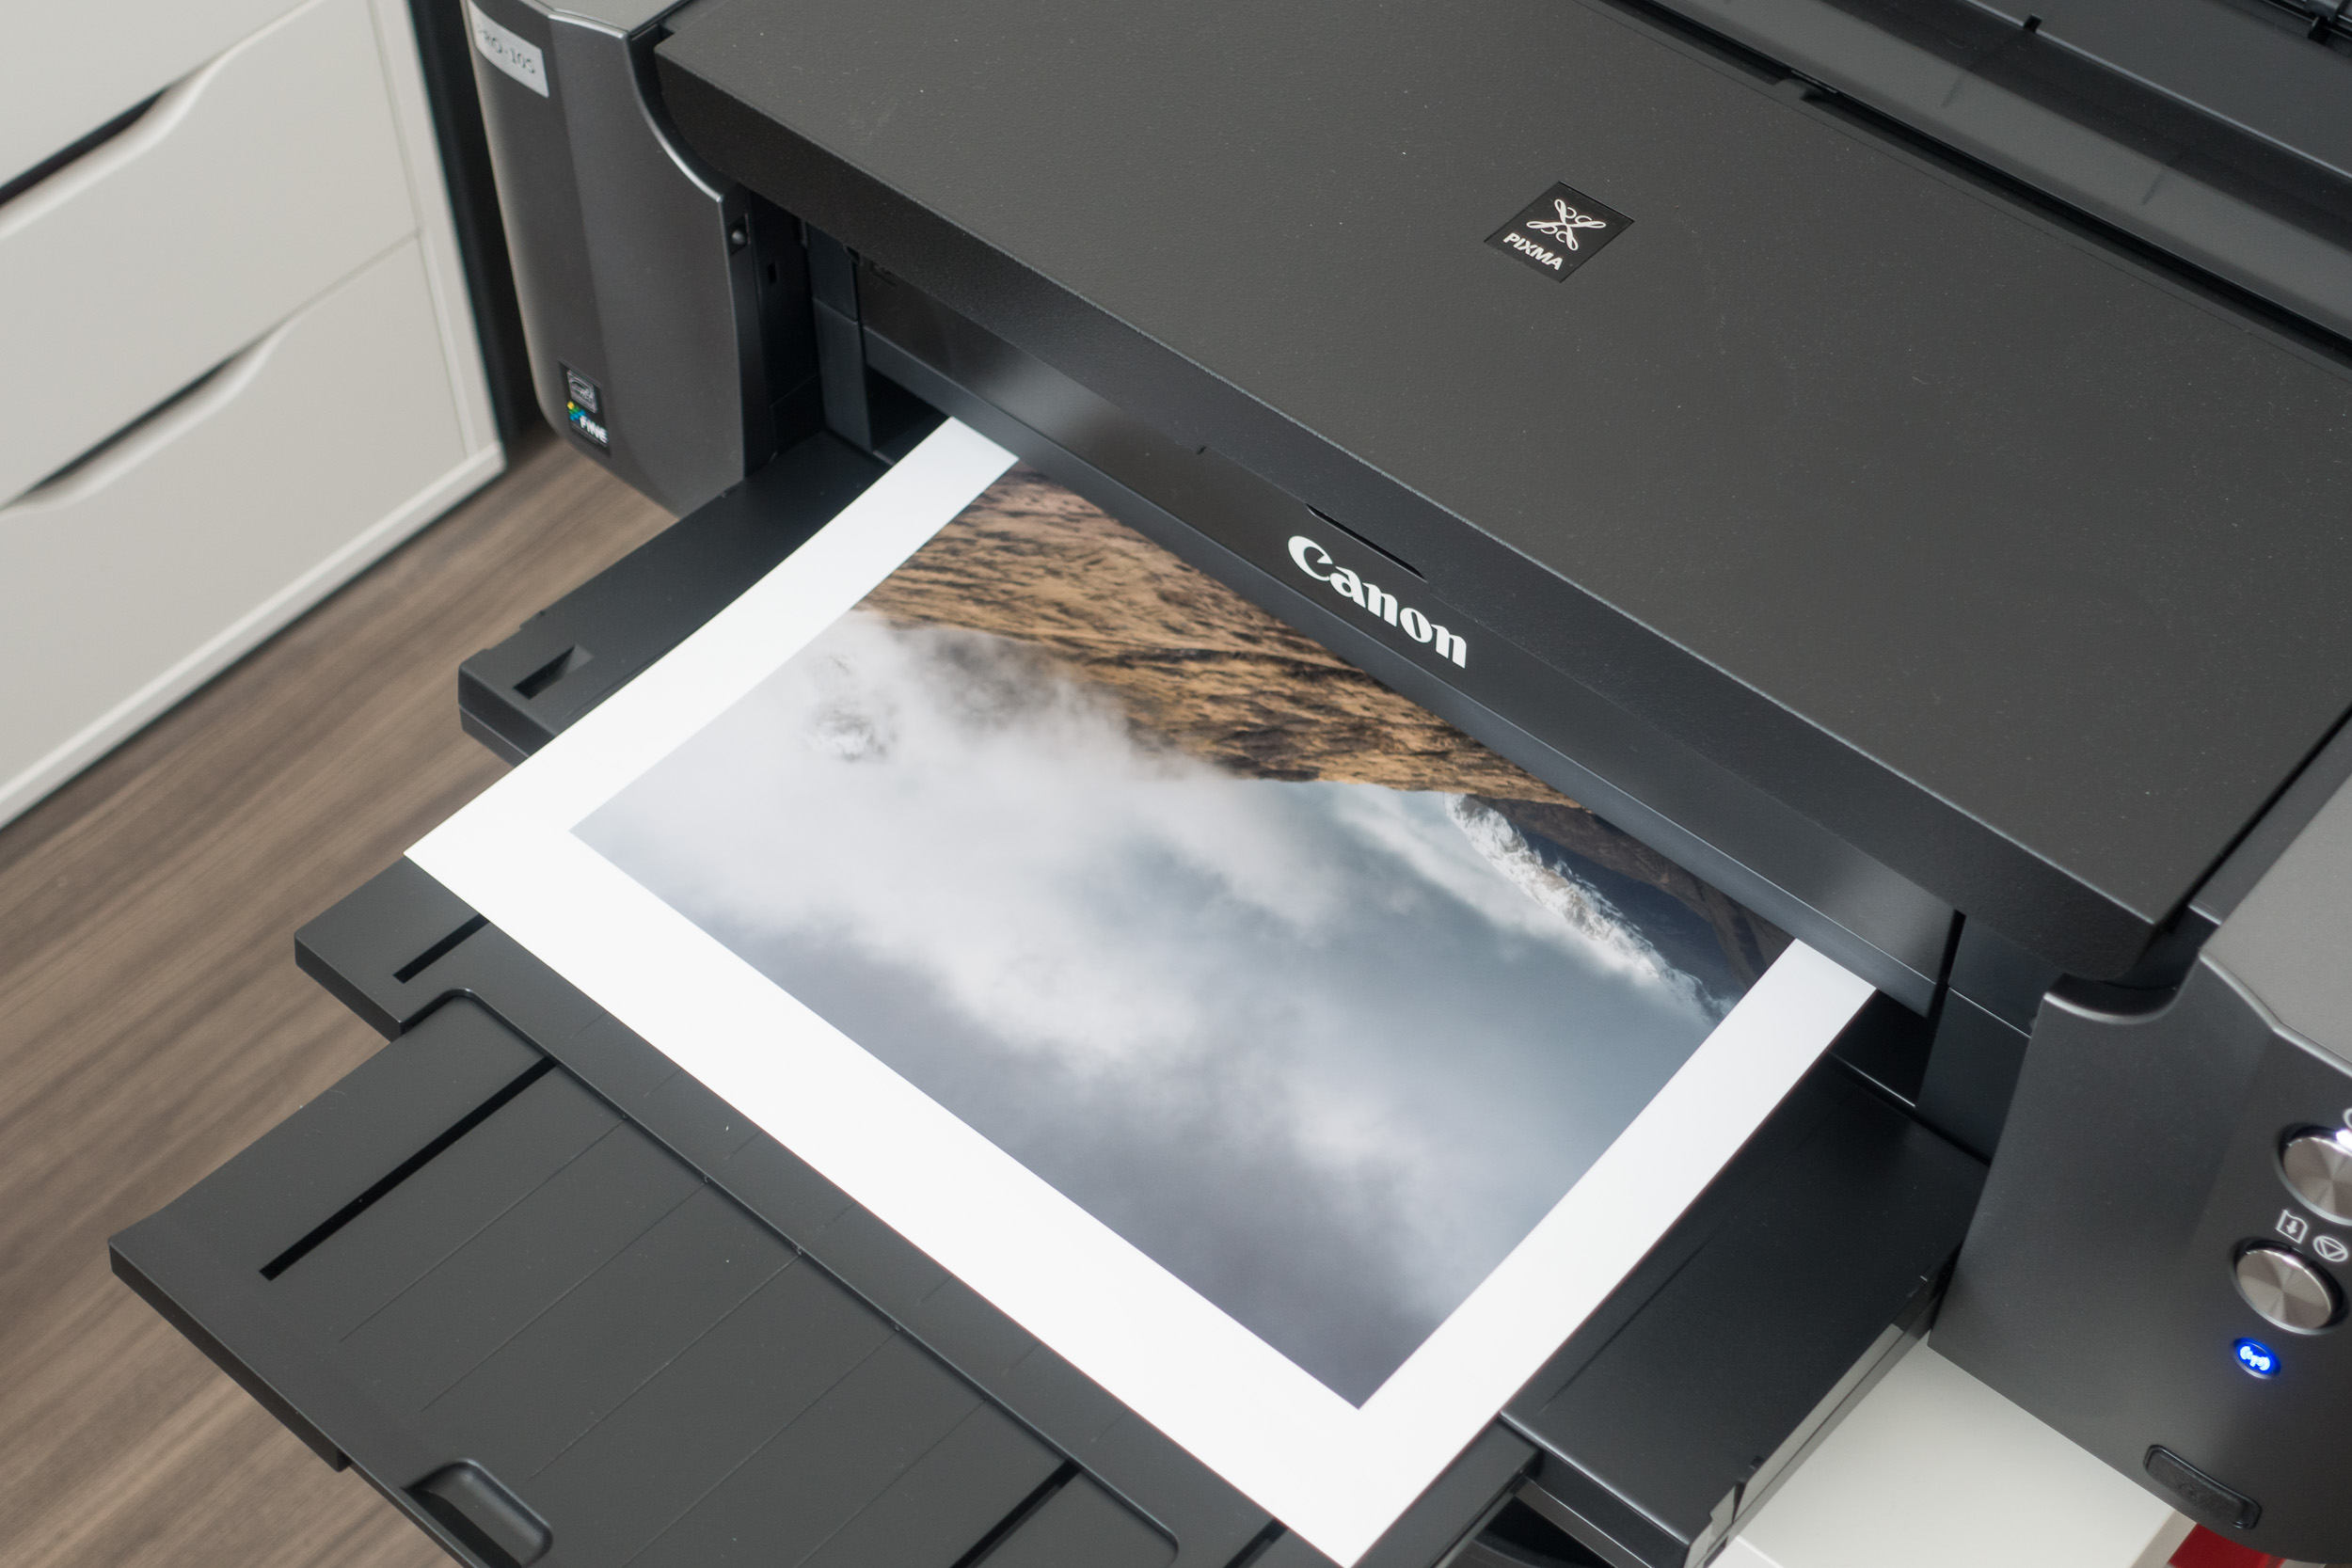
Pass of Glencoe
As I live in the UK and she lives in Sweden, I would also need to learn how to package and ship my prints. Time to get to work!
Printing the Image
As I said in my video Discovery the Joy of Printing, getting a high quality print from the Canon is fairly straight forward. By using the Canon Print Studio Pro software it was just a matter of setting the correct options:
Set media type to Photopaper Pro Platinum
Paper size to A3+
Set quality to high
Set "clear coat the entire image" - this ensures the entire image, even where no ink as been laid, has an even glossiness.
Set printer profile to match paper
Set layout to bordered - as requested by my friend
Set brightness to +15.
Canon Print Studio Pro - simple and straightfoward to use.
The next step is to load the A3+ paper into the rear tray. As you'll see in this image I am using white cotton gloves so I don't leave any residue from my fingers on the paper. I will use white gloves thoughout the process whenever I am touching the photo paper.

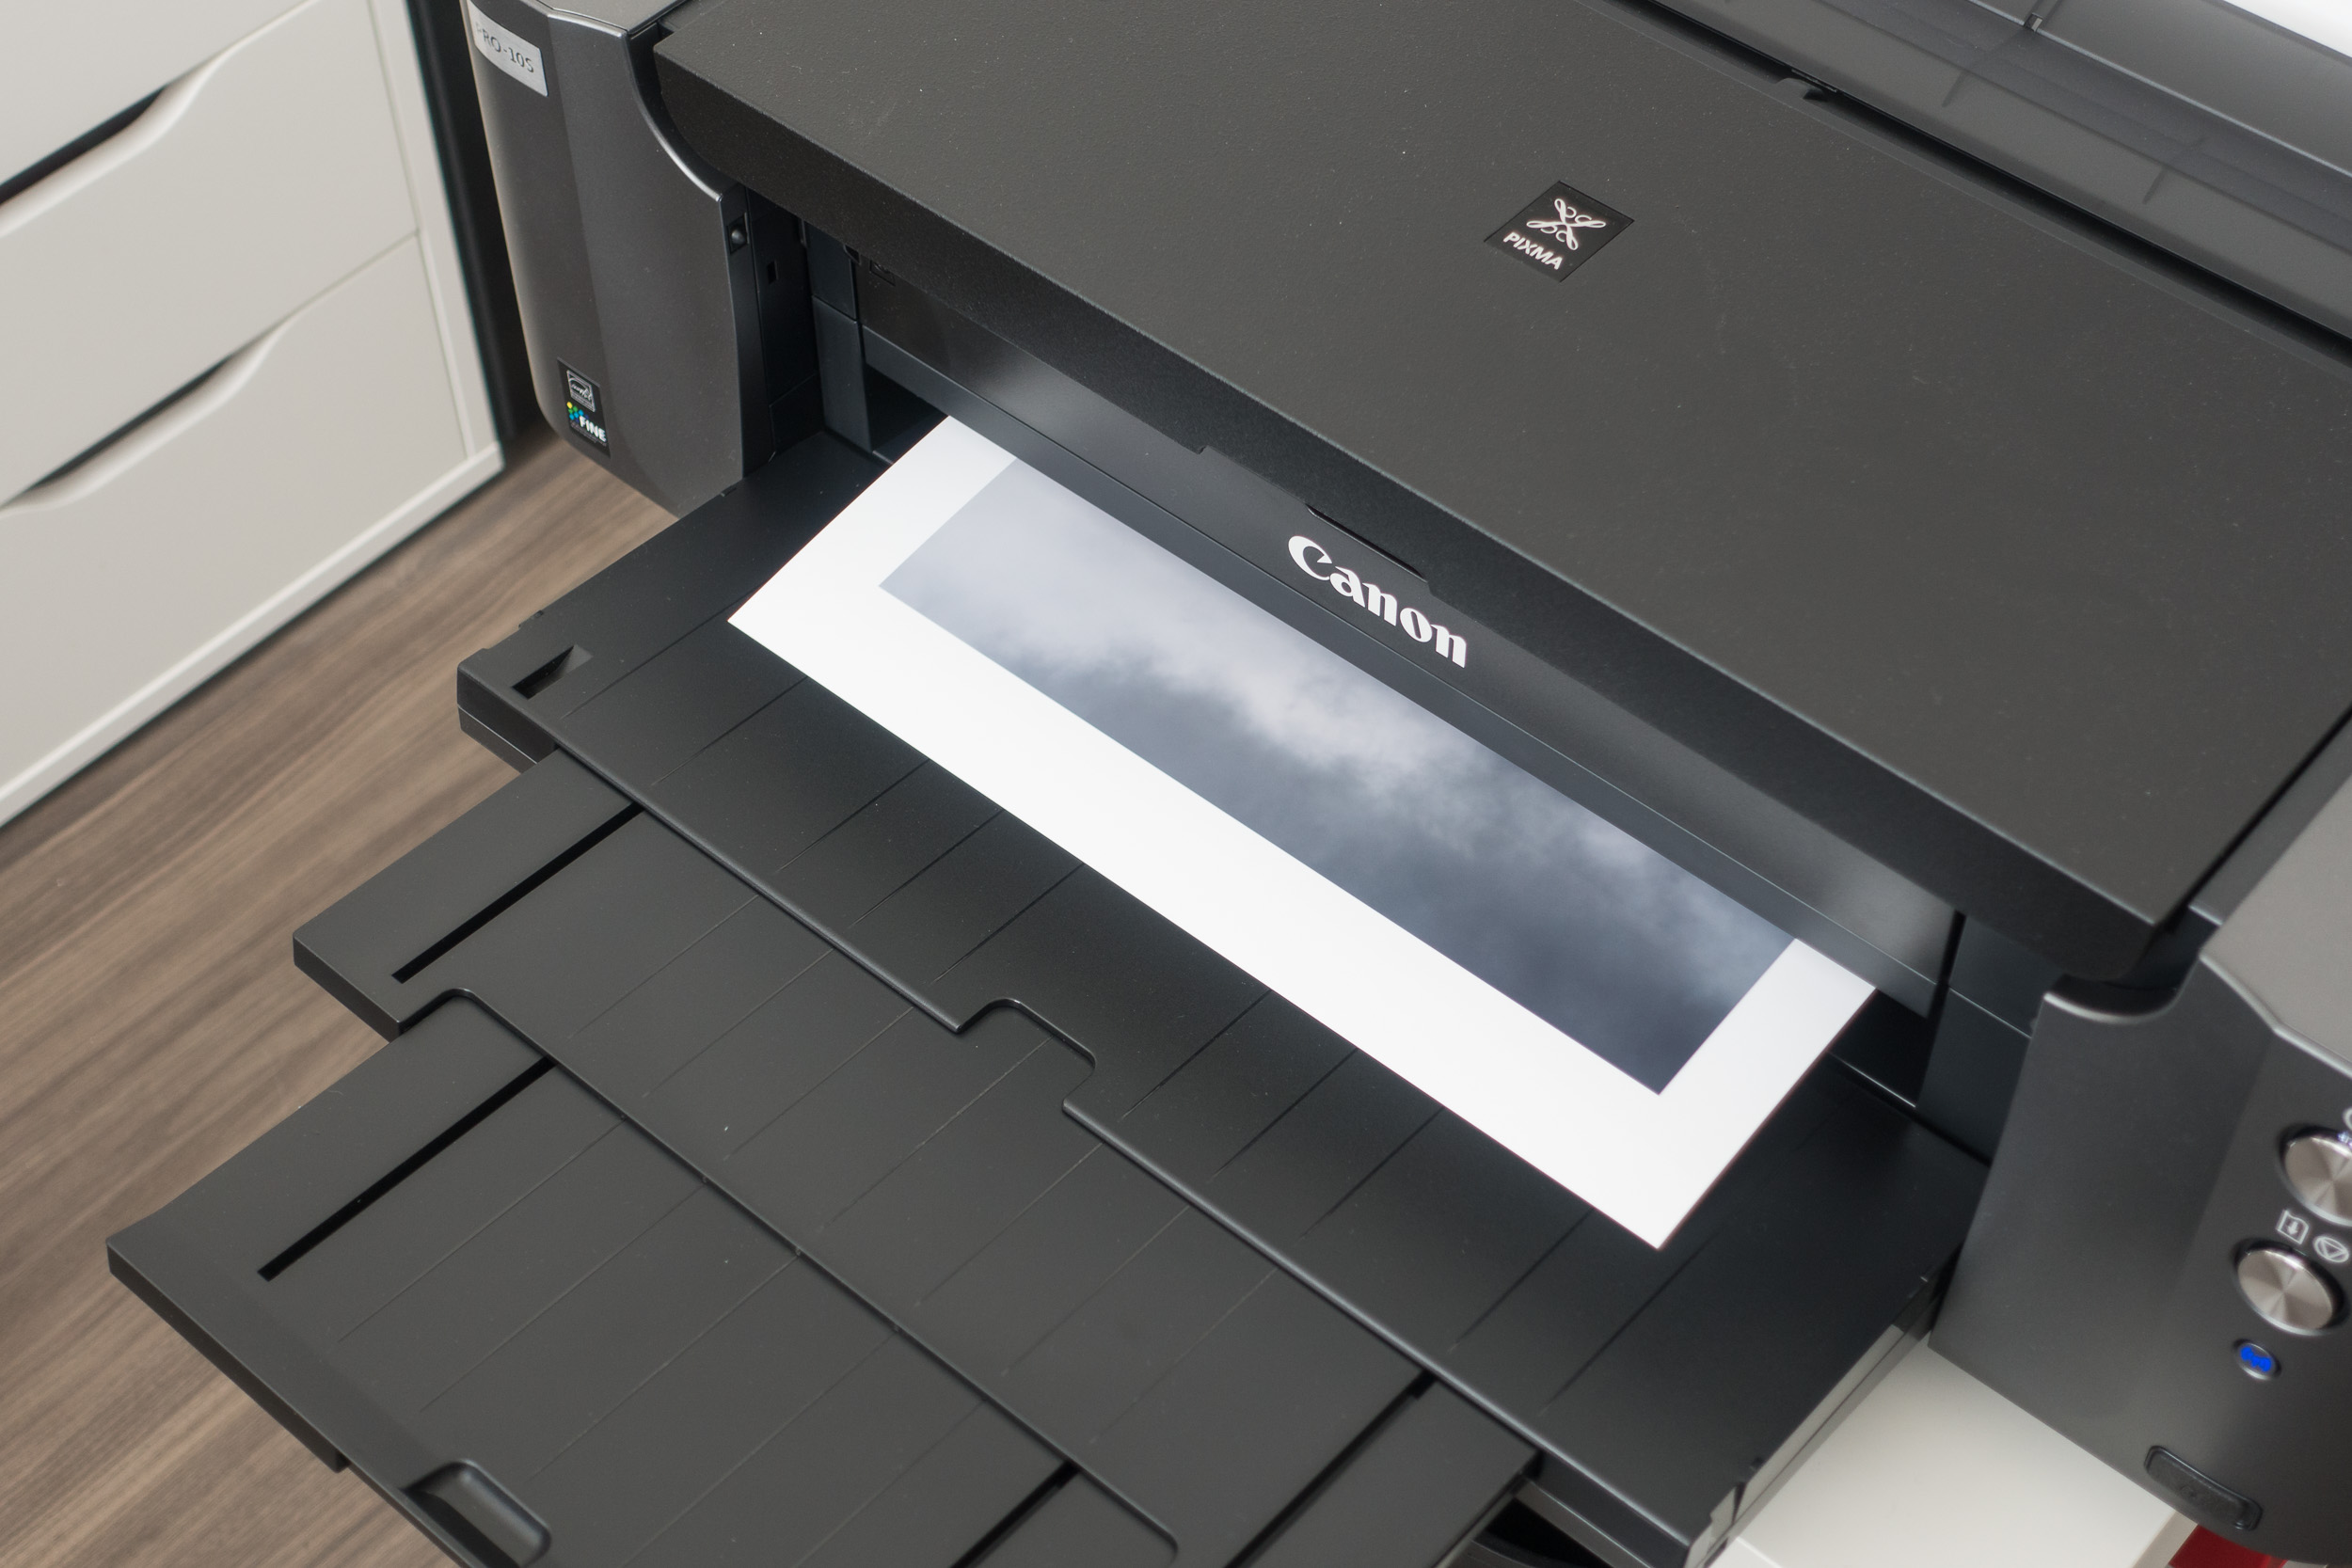
Then you just hit the Print button and wait for your image to take physical form!
Packing the Print
For this part of the process, I really have to thank Martin Bailey for his very informative and detailed blog post and video, Rolling Fine Art Prints for Shipping. Following Martin's workflow I got the following items:
Tracing paper - to put over the print to protect it when rolling. Martin used some Canon paper but tracing paper should be sufficient.
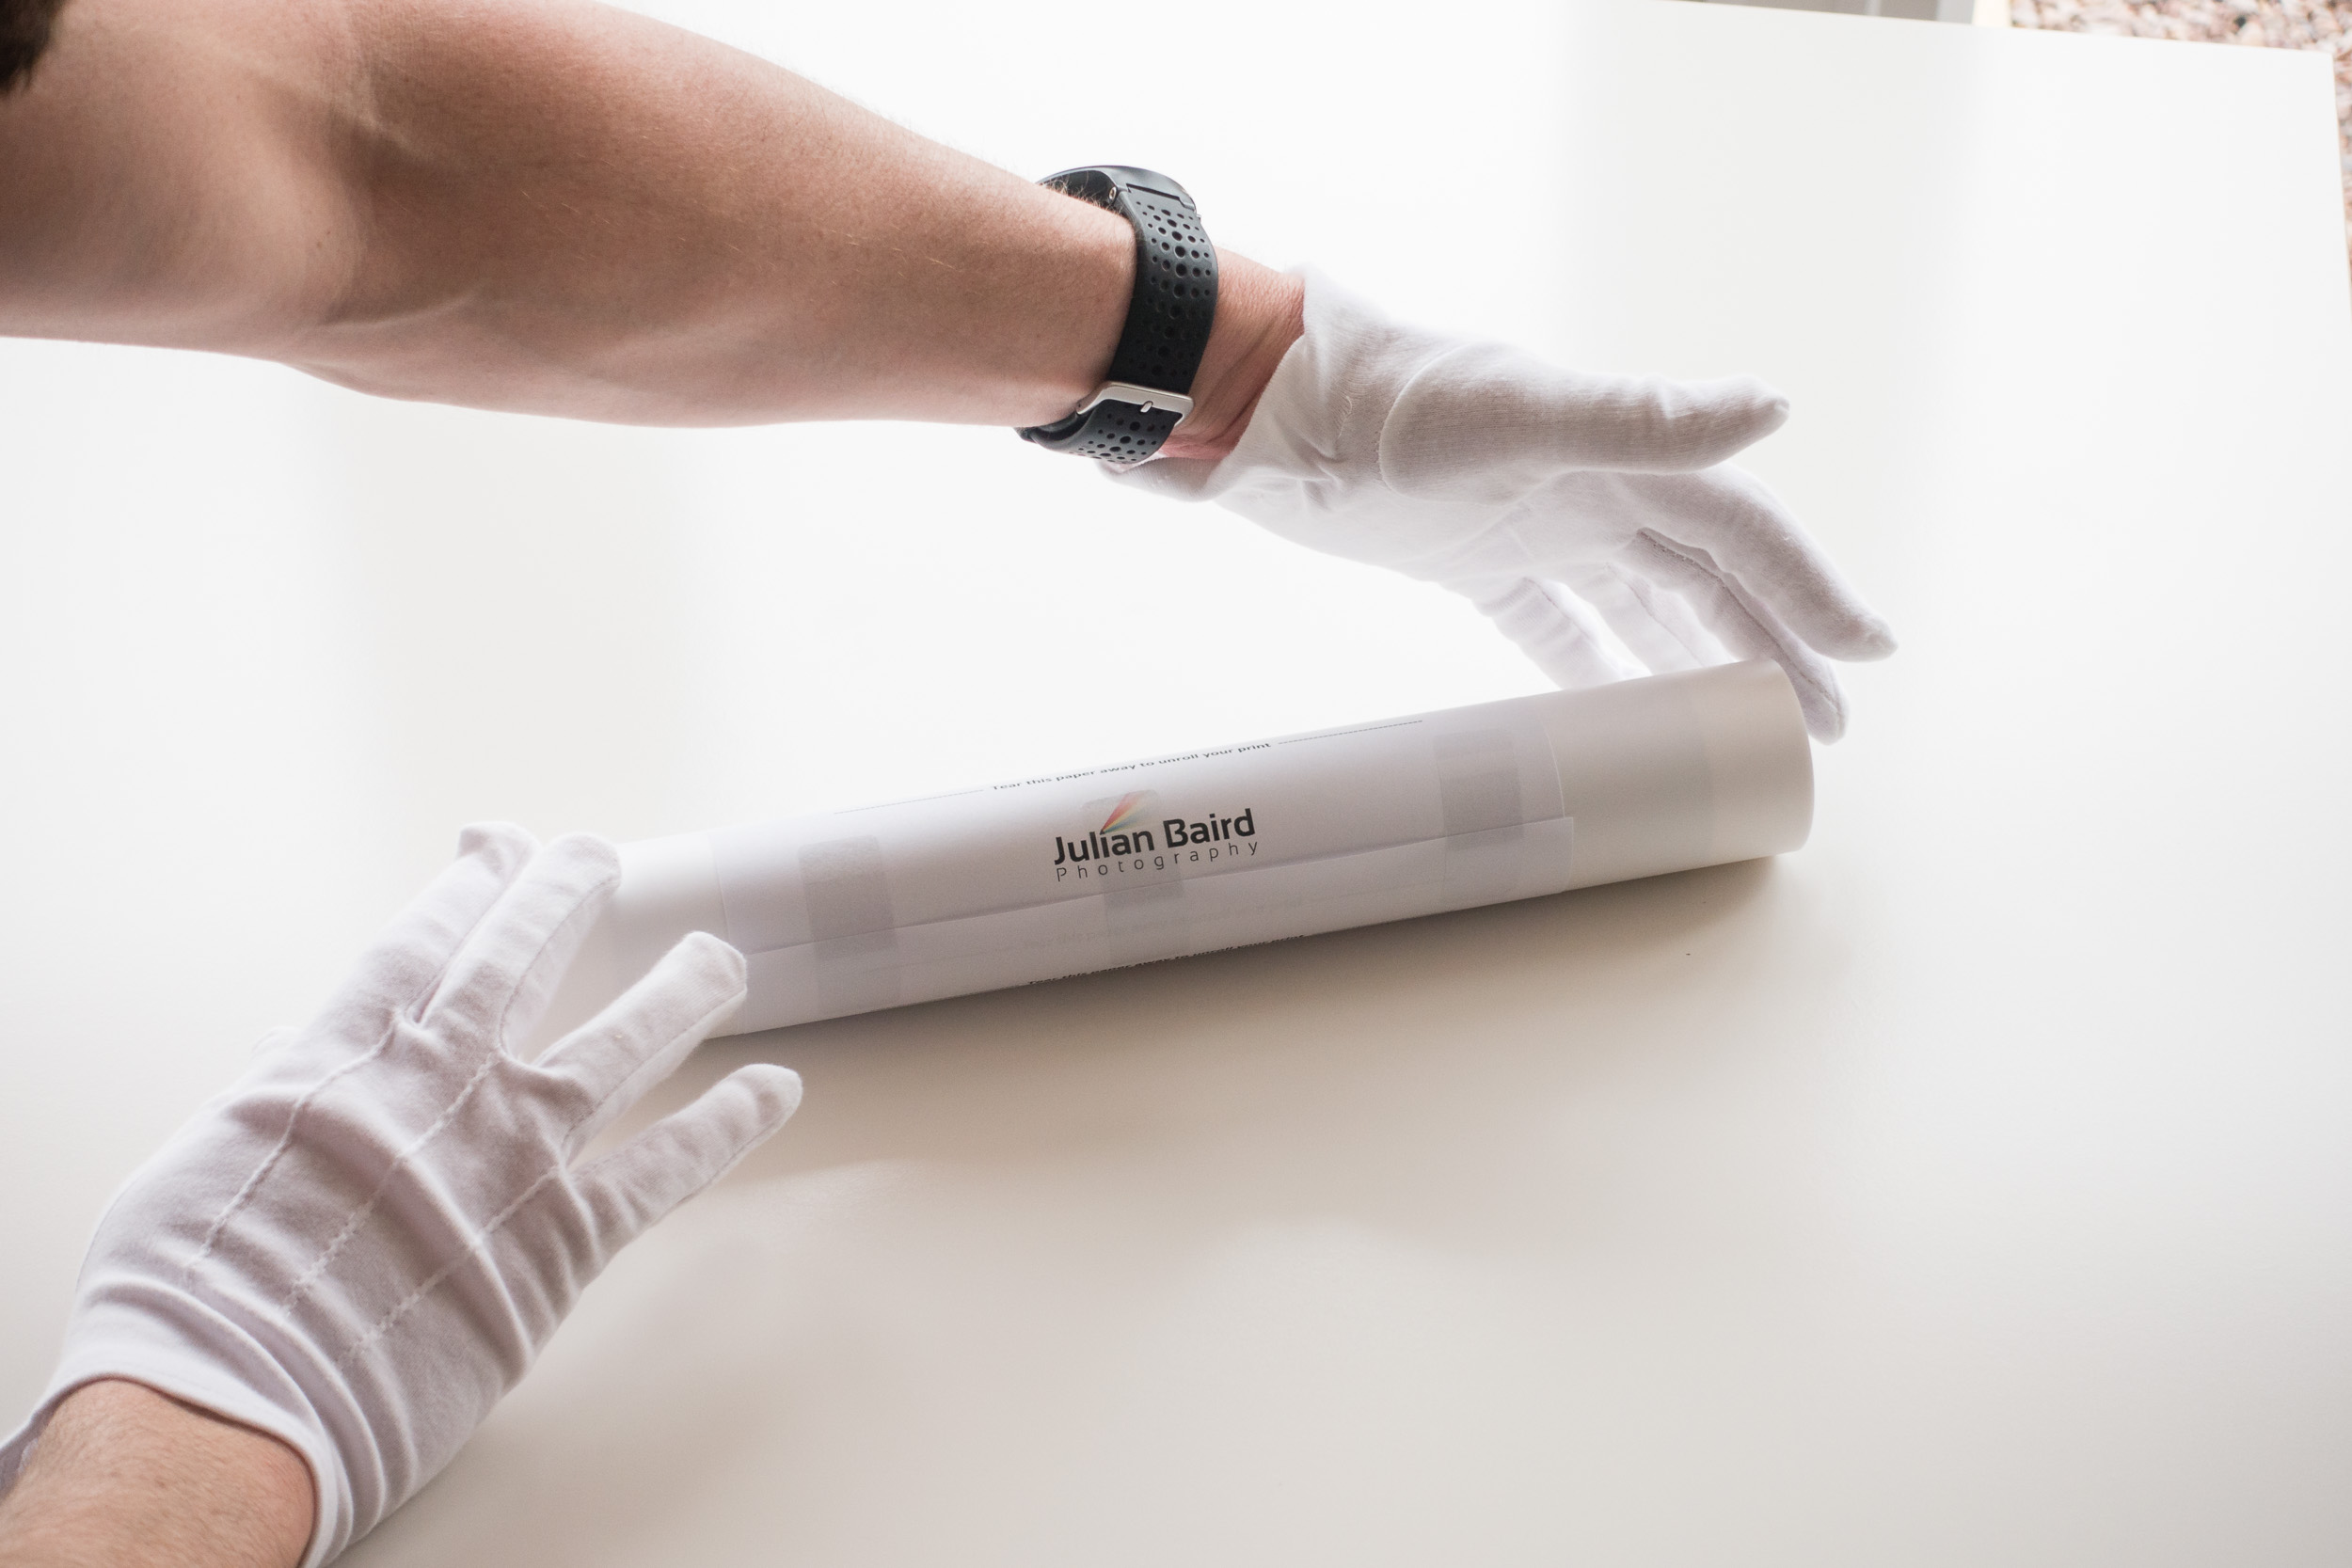
Tear away paper - this is used in the final stages of rolling and using sticky tabs holds the roll to the size you make. This stops the rolled print expanding once it is in the tube.
White gloves - to stop my fingers marking the print
Business card - with my contact details and website address
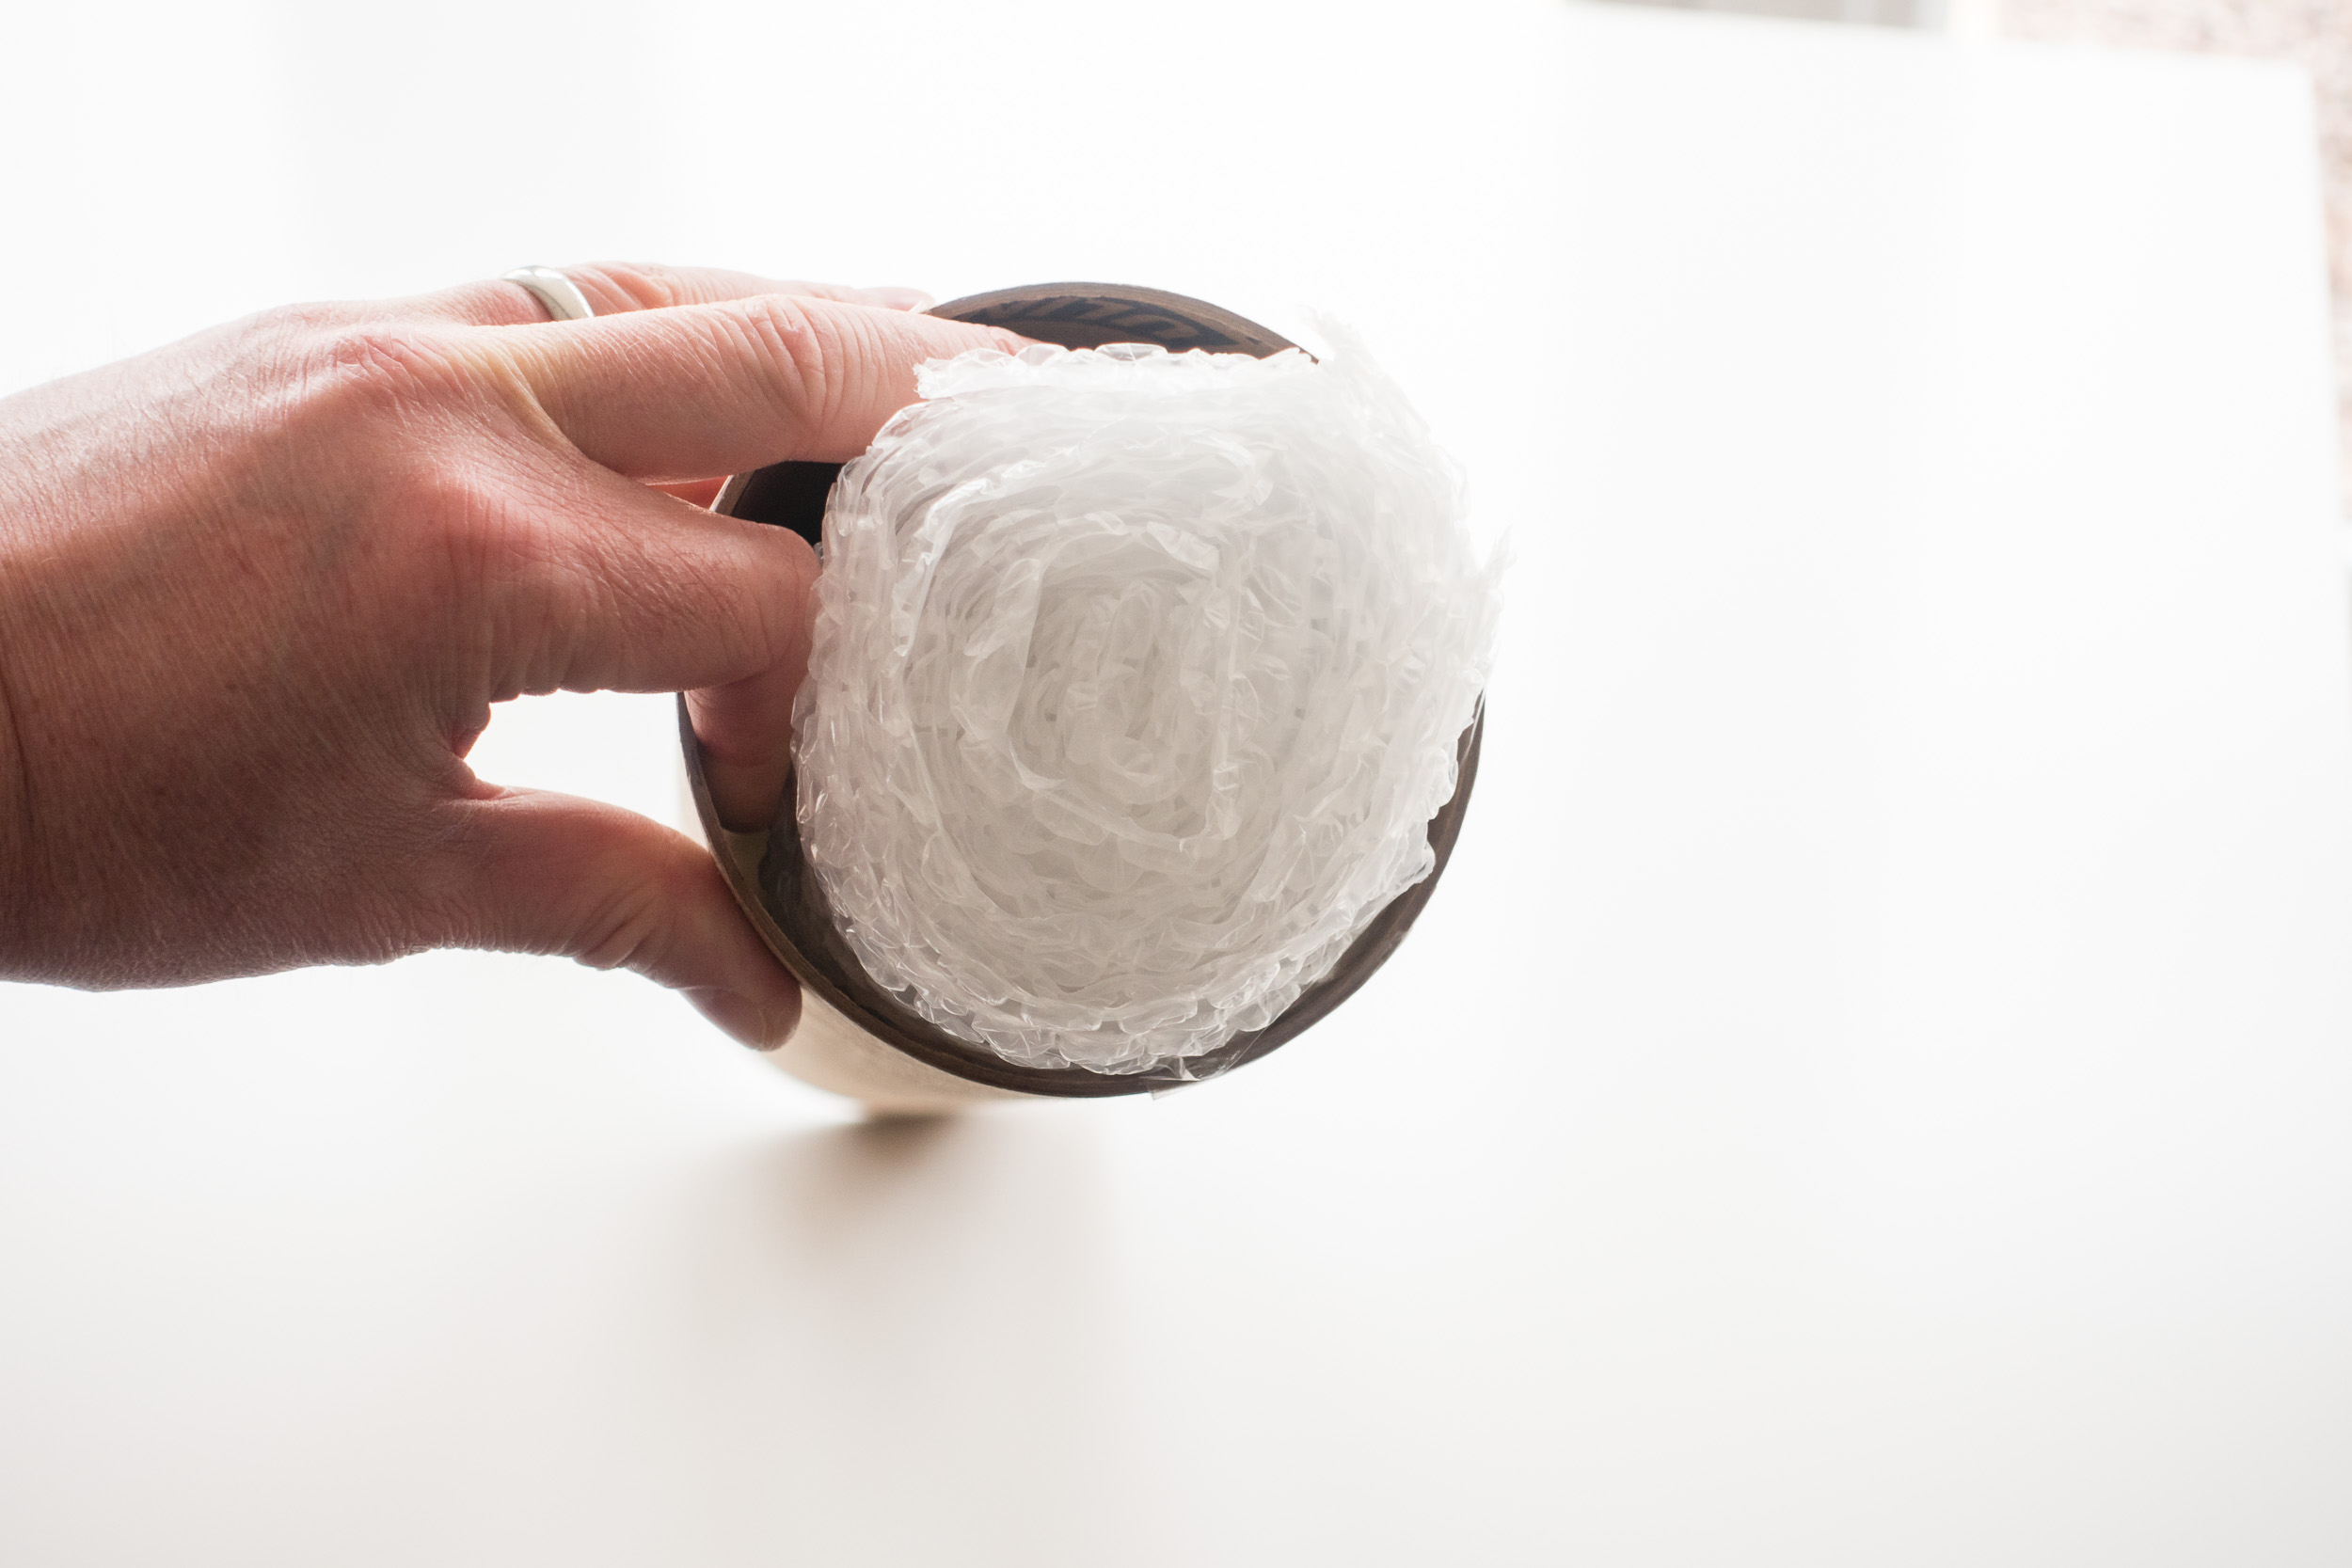
Bubble wrap bung - these are used at either end of the tube to stop the print banging off the ends when the tube is slightly longer that the print.
Shipping tube - as Martin pointed out you need to make sure its strong tube so it doesn't get crushed in transit.

Once I had everything I needed, I covered the print in tracing paper and then gently started the roll.
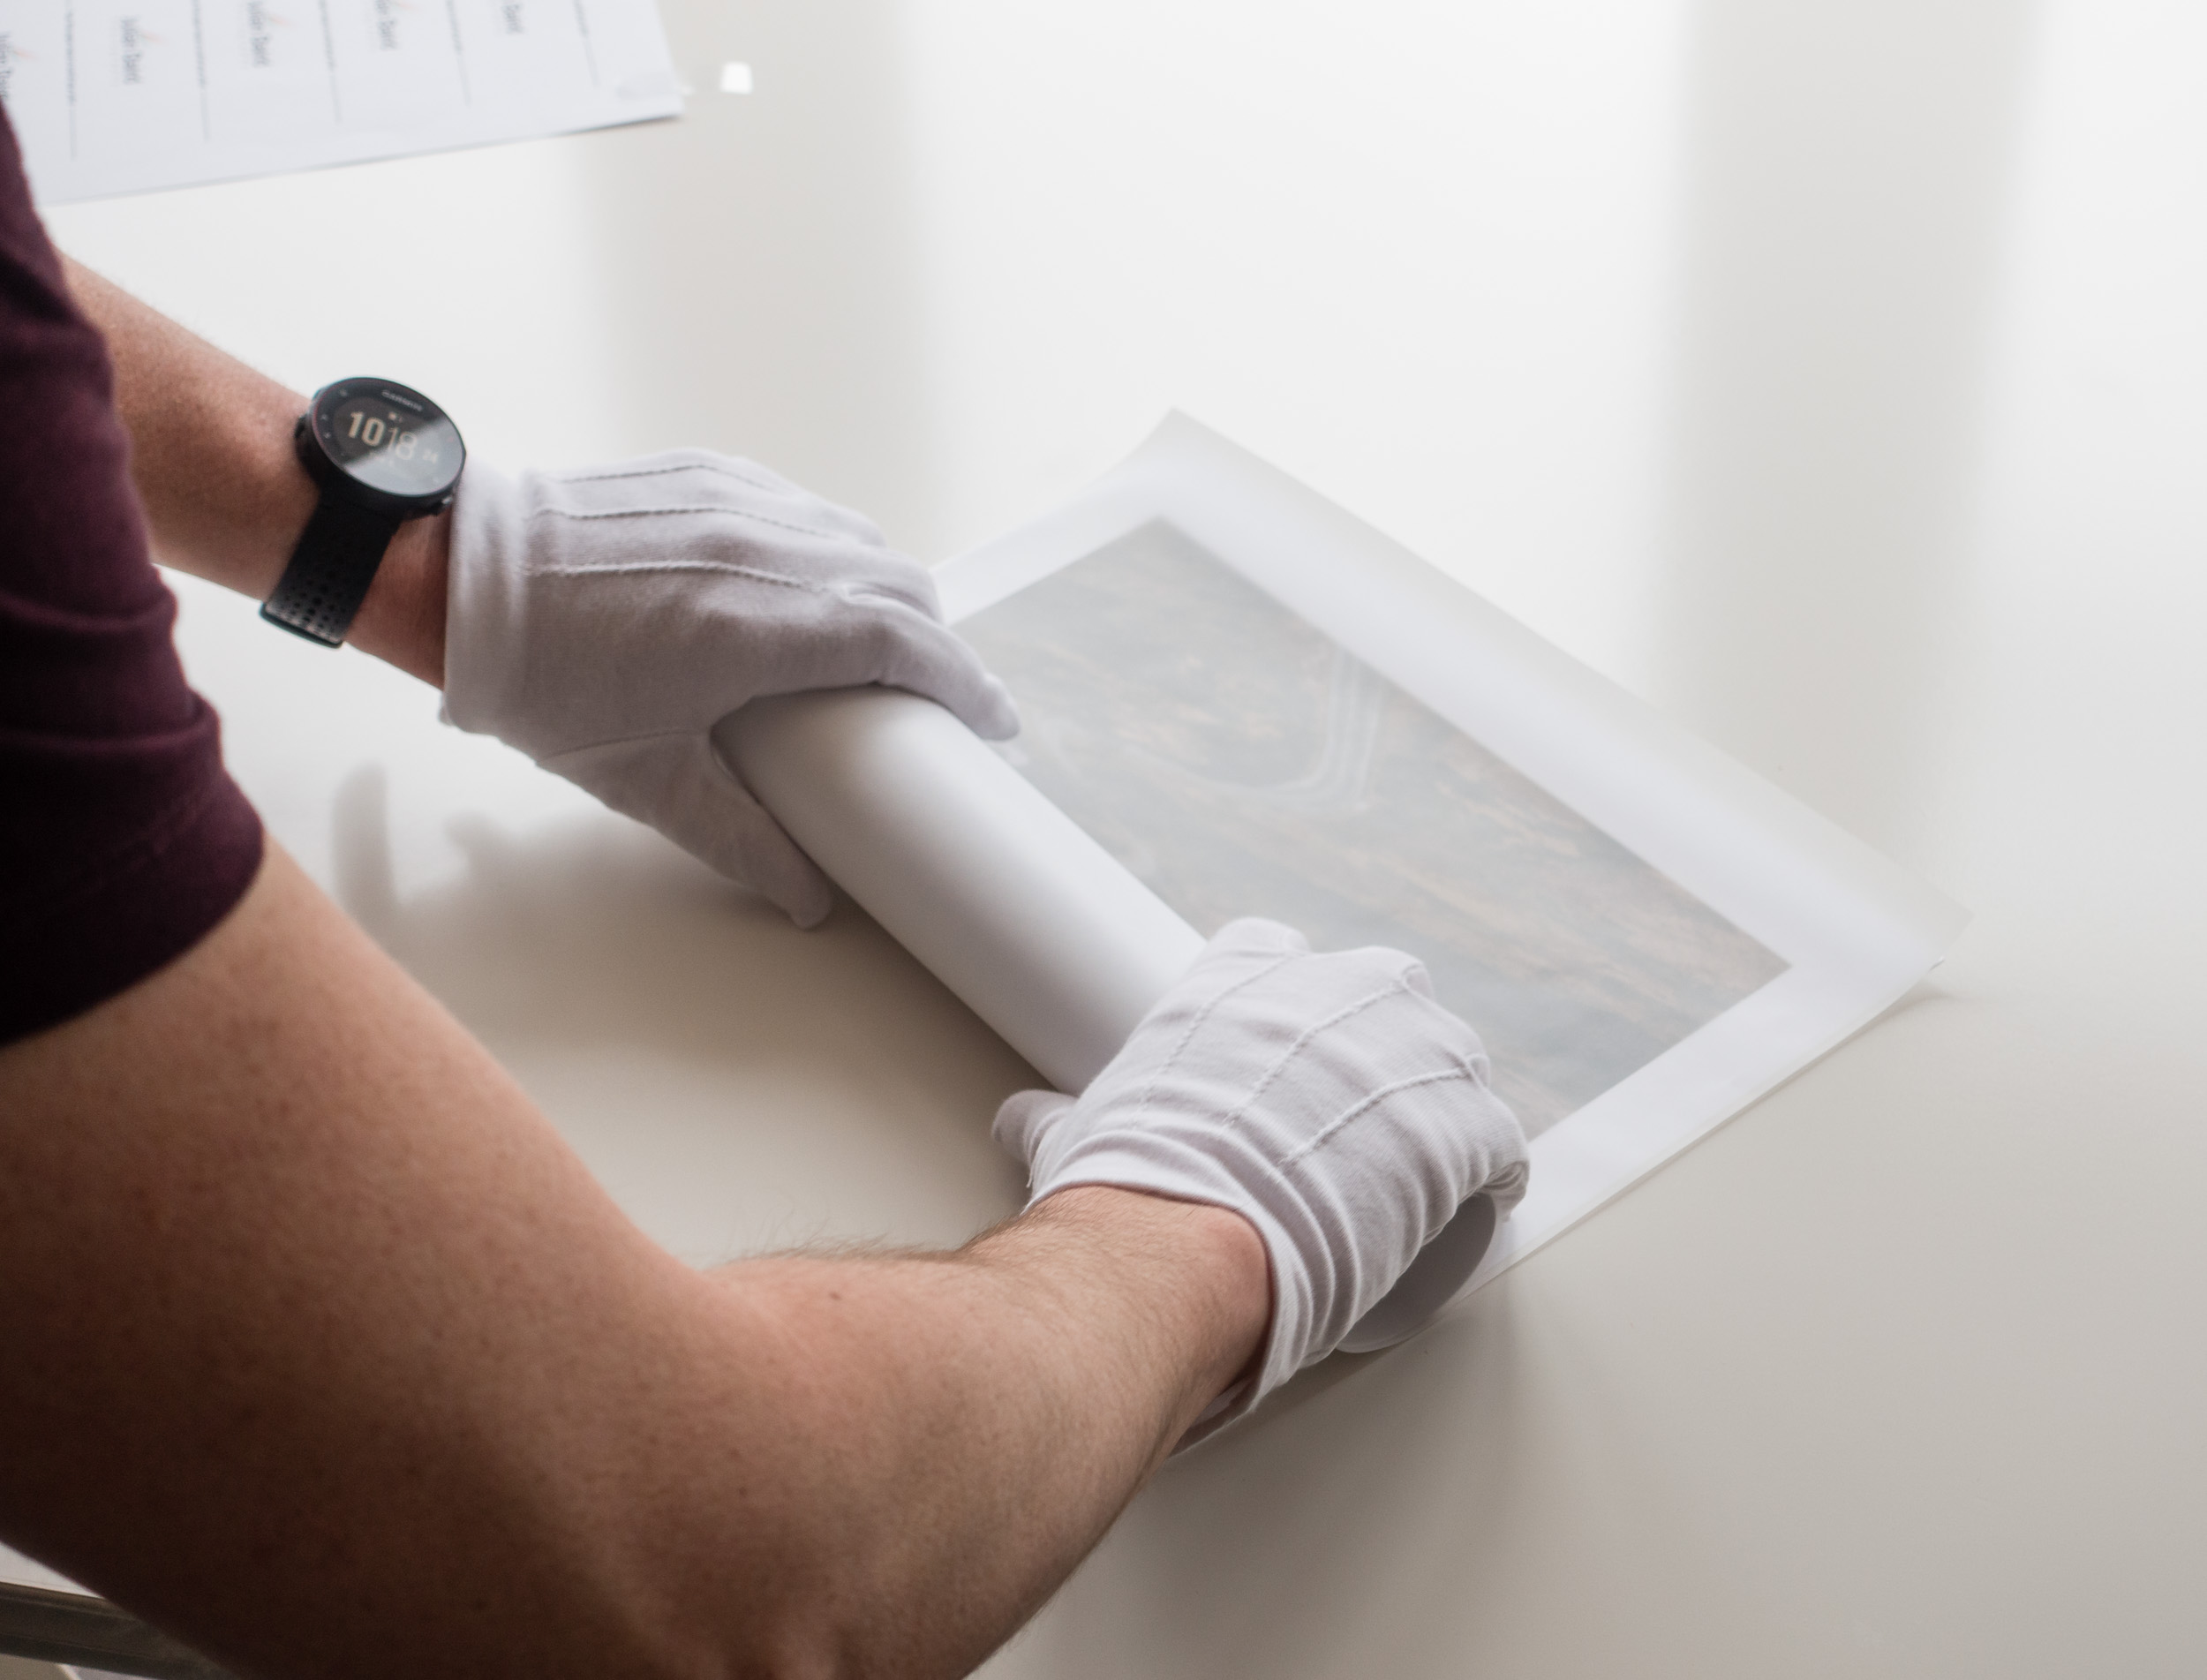
The rolling is the most difficult part of the process and you need to be careful not to damage the print, but after that, it's really just a matter of putting it in the tube along with one or two bubble wrap bungs and a business card.
Once the tube has been addressed and sealed it was off to the Post Office so the print could start its journey to Sweden!
Enjoying the Process
I suspect this whole process of printing and shipping isn't for everyone. After all, you can go to a printing lab online, upload your image and have it shipped directly to where you need it. However, for me at least, part of the enjoyment is doing it all myself. There is the satisfaction of owning the entire process from taking the image to printing it to shipping it. I like the fact that recipient of the print knows that I personally did all the work.
So do you print your own work? Do you sell and pakage your own prints? What personal touches do you put into the process? Let me know in the comments below.